Mastering the Basics: How to Prepare a Small Venue for a Live Gig
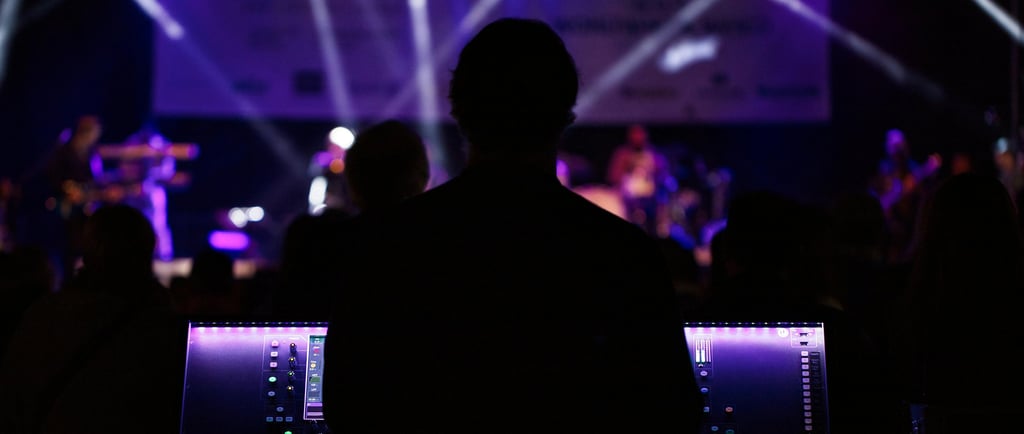
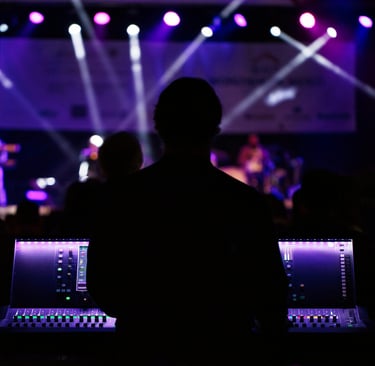
Setting up sound for a live gig, especially in a smaller venue, comes with its unique challenges and rewards. For many audio professionals, knowing where to begin can be half the battle. If you’re a sound tech or budding audio engineer, this guide walks you through the fundamental steps of creating a smooth, powerful sound experience.
Step 1: Start at the Amp Rack
Before powering on any equipment, locate your amp rack and make sure everything is turned off. Turning on amplifiers prematurely can cause unwanted pops that might damage equipment or speakers. Note which amps are for Front of House (FOH) and which are for monitors; knowing this can save time later.
Step 2: Power Up the Stage Box
With your amps safely off, you can now turn on the stage box. This central piece connects your mixer to the microphones, instruments, and other input sources on stage, acting as a critical hub for your sound flow. Powering it on before the amps ensures you’re ready to start making connections without any hiccups.
Step 3: Mixer Setup
Now it’s time to turn on the mixer. This step is straightforward but crucial. A well-powered mixer is key to achieving a clean sound, so double-check all power connections before moving on. Confirm that the mixer has signal connectivity and is ready to control both FOH and monitor signals.
Step 4: Test Sound Levels
Testing your sound levels ensures everything is transmitting properly. Connect your laptop to the mixer and play back some music. Carefully listen to each speaker and subwoofer, checking for balanced and clear audio across the left and right channels. This is also the moment to listen for any distortion and make volume adjustments as needed.
Step 5: Verify Stage-to-Mixer Signal
To confirm that signals from the stage are reaching the mixer, take your laptop to the stage, connect it to the stage box, and test the input at the mixer. Proper signal flow means you’re ready to handle live instruments and vocals without issues once the band is ready to perform.
Wrapping Up
Once you’ve completed these steps, your setup is almost done! These preparatory actions help ensure smooth transitions and minimize sound issues, so you can focus more on mixing and less on troubleshooting. Now you’re ready to move on to fine-tuning your EQ settings and adapting the mix for the specific acoustics of the venue.
Each venue brings its own challenges, but a consistent setup routine gives you a reliable starting point. Stay tuned for the next post on optimizing EQ for live venues!