Optimizing Sound for a Corporate Show
In this blog, I want to share a project I completed this week for a company I have been collaborating with for over six years. I'll walk you through my process from planning to deployment, highlighting the improvements we achieved this year.
Project Background
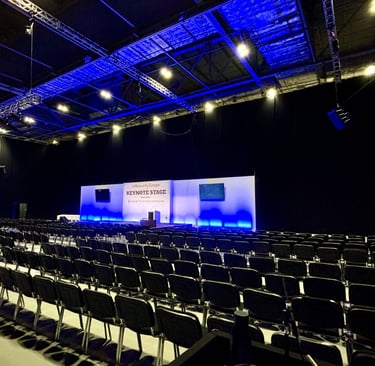
For the past four years, I've handled the audio setup for this annual event. With the support of PM Liam Stevenson from Aztec Events, we've been able to enhance the show year after year. This time, we had the opportunity to use T10 speakers from D&B, which significantly impacted our setup.
Here’s the equipment we used:
4 x D&B T10 (each side)
2 x D&B T10 (floor delays)
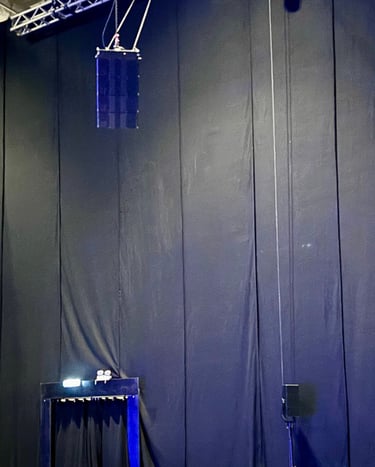
2 x D&B T10 (truss delays at the back of the room)
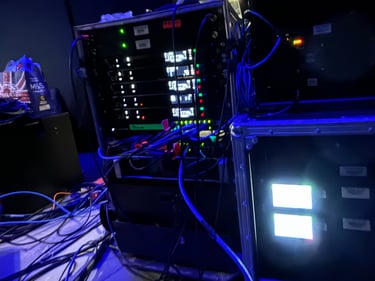
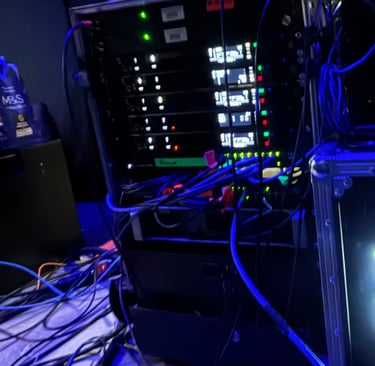
The system was powered by 4 unit D&B D40 amps. using analogue input. Although I prefer using AES with analogue as backup, we opted for analogue this time.
Planning and Design
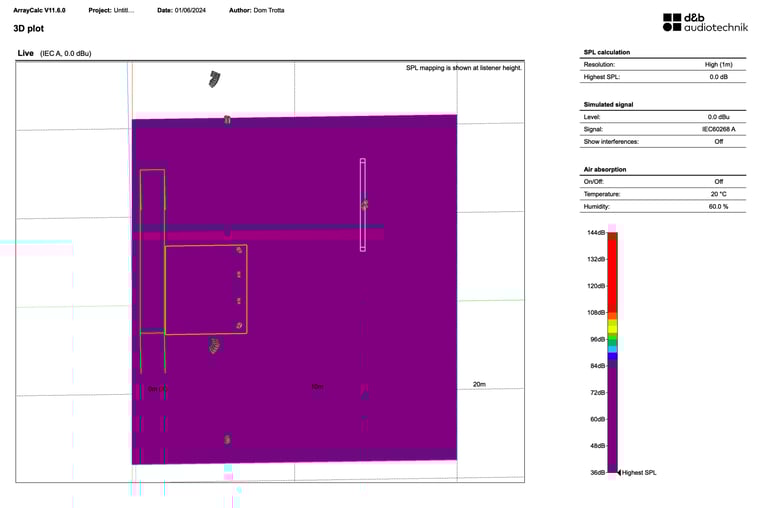
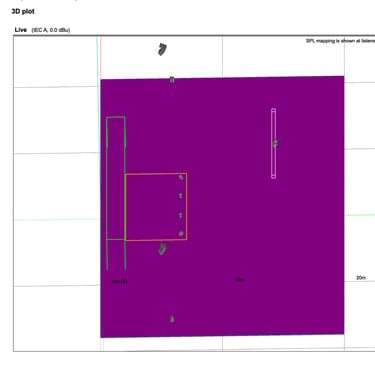
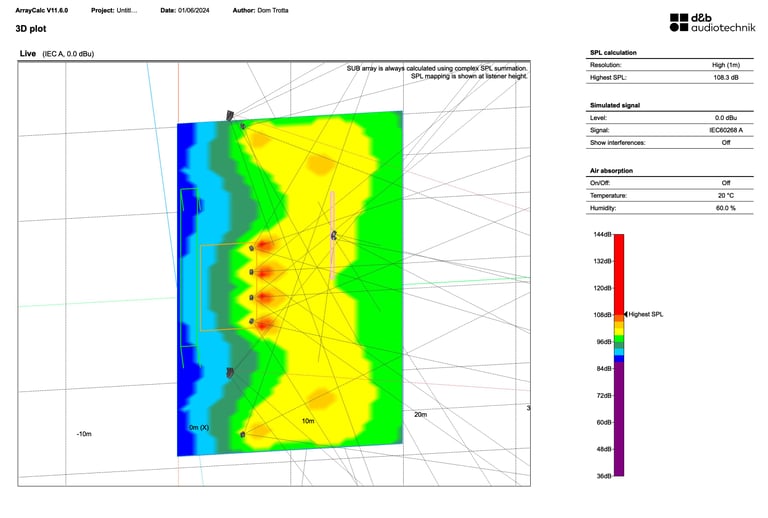
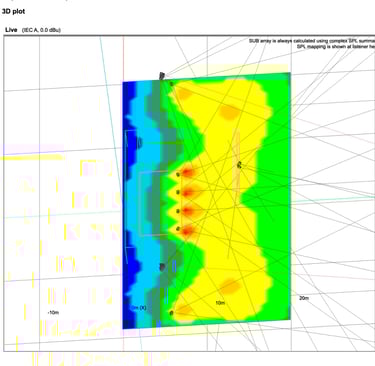
I began the project using ArrayCalc. My primary goals were:
To ensure the speakers on stage felt connected to the main PA, I tilted the two side hangs slightly inward. This adjustment was well-received by the presenters, addressing last year's issue where they felt isolated.
Room Coverage: Last year, we had sessions where attendees filled the entire space, with many standing around the edges. To address this, I added two speakers under the array at the sides and two T10s on the truss to cover the back rows and edges where people stood last time.
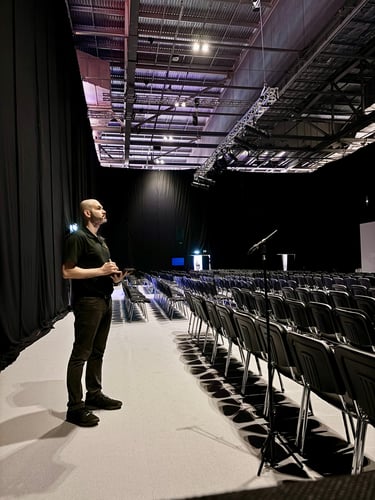
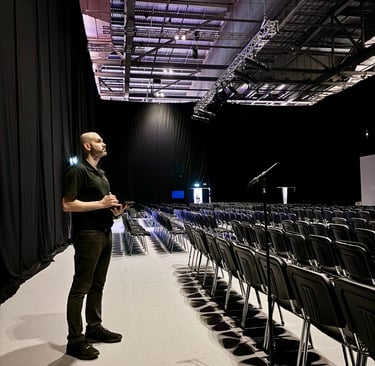
Setup and Tuning
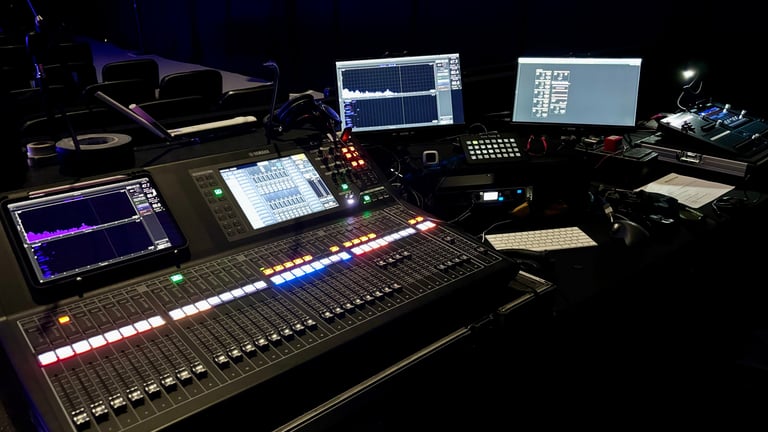
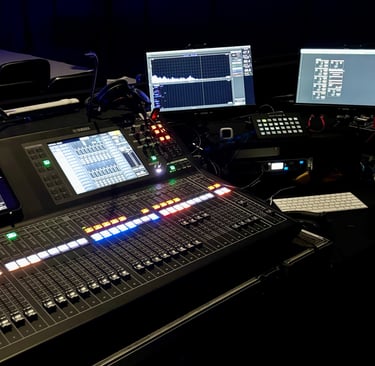
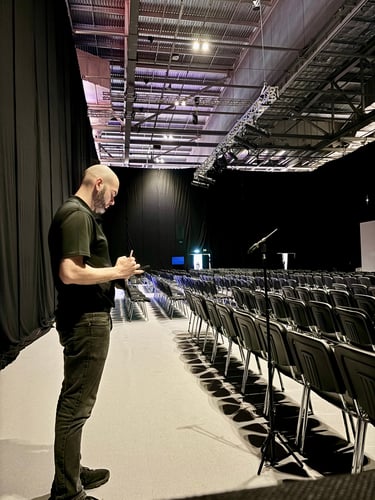
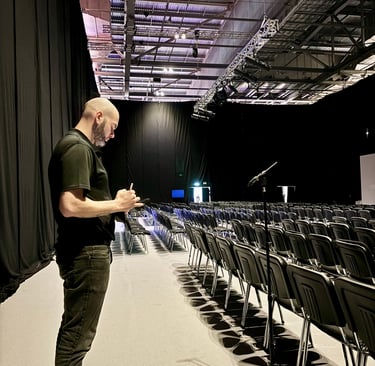
For system calibration, I used my Smaart Rack, comprising a Roland Octa-Capture sound card and a 2019 Mac Mini running Smaart and R1 software. My iPad, linked via TeamViewer, allowed me to take measurements remotely, avoiding constant trips to the front of house (FOH), a reliable router ensured smooth operation you can watch the video here
Here’s my step-by-step tuning and alignment process:
System Verification:
Conduct system checks and array verification using R1, calibrating and testing each speaker with pink noise to ensure proper functioning.
Main PA Alignment:
Measure and adjust the LEFT MAIN PA to match my target curve.
EQ adjustments with the microphone on-axis.
Side Fill:
Match the Side fills level to the main PA.
EQ adjustments with the microphone on-axis.
Main and Side Fill Integration:
Position the microphone at the seam point between the main and side fill.
Check phase and alignment.
Subwoofers:
Check subwoofer levels and apply EQ.
Main and Sub Integration:
Perform timing alignment.
Verify the crossover point and overall response.
Front Fill:
Adjust the level and EQ as necessary.
Main and Front Fill Integration:
Position the microphone at the seam point between the main and front fill.
Check phase and alignment.
Truss Delay:
Match truss delay levels to the main PA.
EQ adjustments with the microphone on-axis.
Main and Truss Delay Integration:
Position the microphone at the seam point between the main and truss delay.
Check phase and alignment.
After completing these steps, I walked the room to ensure the system sounded as desired, making any necessary adjustments. I used my new XVive U3C wireless system, and Isecom EMX-7150 microphone for all measurements.
Show Execution
For this event, I used a QL5 desk with 10 channels of wireless microphones (a mix of headsets and handhelds).
You can see my setup process for corporate shows on my YouTube channel.
The event was a success, with back-to-back panels and keynote speakers. There were minimal changes needed during the show, except for a slight reduction in high frequencies around 5kHz for the front fills. I was fortunate to have an excellent A2, Rob, assisting with system setup and during the show.
Stay tuned for the next case study!

This stand that I'm using for the mesurment mic it's amazing, this is the link