The Three Stages of EQ in Live Sound: A Step-by-Step Guide
When mixing live sound, applying equalization (EQ) is a powerful tool to ensure clarity, balance, and maximum gain before feedback. But knowing where and how to apply EQ can make all the difference in delivering professional-quality sound, especially in live event settings. This guide will break down the three stages of EQ to help you optimize your sound system, source, and room acoustics for the best possible results.
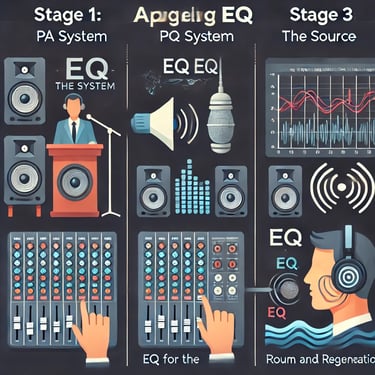
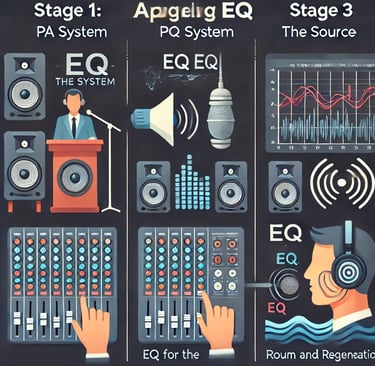
Stage 1: EQ the PA System
The first step in applying EQ starts with your PA system. This stage focuses on adjusting the overall tonal balance of your speakers, ensuring they deliver a clean, natural sound to your audience. Think of this as the lens through which all other audio is projected.
Objective: Optimize the sound of your speakers by applying EQ that targets the entire room.
How: Start by tuning the main PA speakers using a parametric or graphic EQ on the matrix output of your mixing console. This lets you fine-tune frequencies based on room size and speaker placement.
Key areas to focus on: Balance the low, mid, and high frequencies across the venue. Use a measurement microphone or sound analysis software to take readings at various points in the room, adjusting EQ accordingly to achieve a smooth, even tonal balance.
By first ensuring that your speakers are well-tuned, you can provide a solid foundation for the rest of your mix.
Stage 2: EQ the Source
Once the PA system is optimized, the next step is to focus on EQing the source, typically the person speaking or performing. Whether you’re dealing with a presenter using a lavalier microphone, a vocalist on a handheld mic, or an instrument like a guitar or drums, EQ adjustments at this stage are crucial for making the source sound clear and natural.
Objective: Shape the tonal balance of each source so that it sounds great both on its own and within the overall mix.
How: Use the channel strip EQ on your mixing console to make adjustments to each individual sound source. For vocals, start by applying a high-pass filter (usually around 100-140 Hz) to cut out unnecessary low-end rumble. Then, adjust the mid and high frequencies to remove any muddiness, boxiness, or harshness.
Key areas to focus on: For dialogue microphones, you’ll often want to reduce low-mid frequencies (around 200-500 Hz) to prevent the voice from sounding thick or muddy, while gently boosting higher frequencies for clarity.
By focusing on the individual source, you ensure each sound is clear and intelligible, making the overall mix much more balanced.
Stage 3: EQ for the Room and Regeneration
The final stage in applying EQ is managing the acoustics of the room and addressing regeneration, or sound reflections that can lead to feedback. This is particularly important in live sound setups, where sound from the PA can reflect off walls and bounce back into microphones.
Objective: Control sound reflections and reduce feedback without compromising the overall sound quality.
How: Use narrow notch filters to cut specific frequencies that cause feedback or create comb filtering (the effect caused by sound bouncing back into a microphone). This step is often applied to groups or buses on your console, where multiple microphones are routed.
Key areas to focus on: Listen for problem frequencies caused by room reflections, particularly in the low-mid range, which can make the sound feel boxy or muddy. Use narrow EQ cuts to control these frequencies without affecting the rest of the audio signal.
By addressing the room’s acoustic issues, you can prevent feedback and ensure that the sound remains clean and intelligible, even in difficult environments.
Summary of the Three EQ Stages:
EQ the PA System: Ensure the speakers are balanced for the room, providing a strong foundation for all audio signals.
EQ the Source: Shape the tonal balance of individual microphones and instruments to sound clear and natural.
EQ for the Room and Regeneration: Manage room reflections and feedback by applying strategic cuts to problem frequencies.
By following these three stages in order, you’ll be able to maximize the clarity, balance, and overall quality of your live sound, whether you're mixing for a small corporate event or a large-scale concert. Remember, EQ is not just about making adjustments—it’s about knowing when and where to apply those changes to get the best results.